Recording from an Introduction to Canvas Workshop with an overview of features and settings.
Canvas knowledge base for faculty and staff: Penn Libraries provides guides for using a variety of Canvas features and other learning technologies.
Log in to Canvas and select the course title/button that corresponds to the site you want to work with. Course cards are located on the course dashboard.

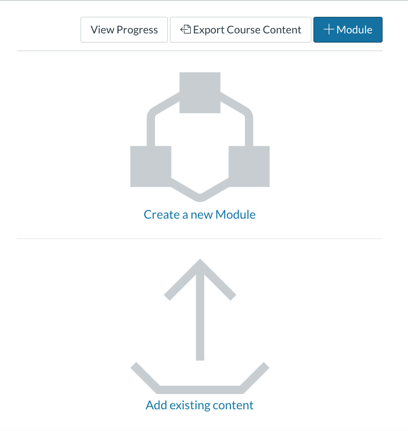
To begin adding content, select the blue button that says "+Module" or the icon that says "Create new module." These modules will become your homepage, what students will see when they come to your course. The option to create a new module will be in the center of the course homepage.
Give the module a name and select "Add Module" in the bottom right hand corner. You can s
tart adding material to the module by selecting the plus or add icon (+) to the right of the module.
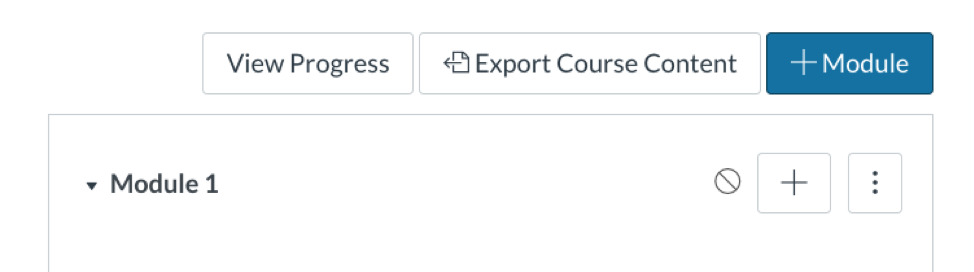
Selecting the plus or add icon (+) will open a drop-down menu.
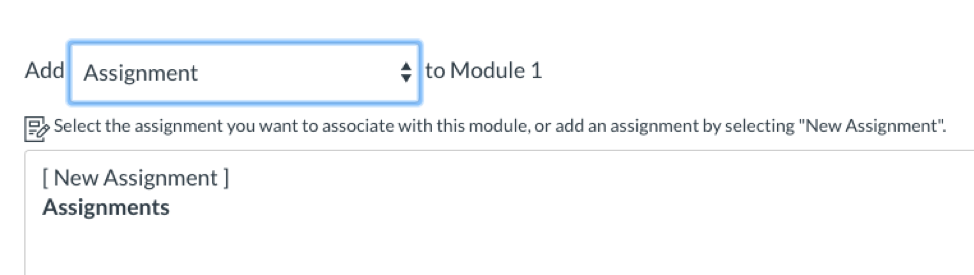
If you select the drop-down menu, you can access the list of different items that you can add to a module. The Modules drop-down menu lists a variety of components including assignment, quiz, file, discussion, and URL.

Select the item that you want to add.
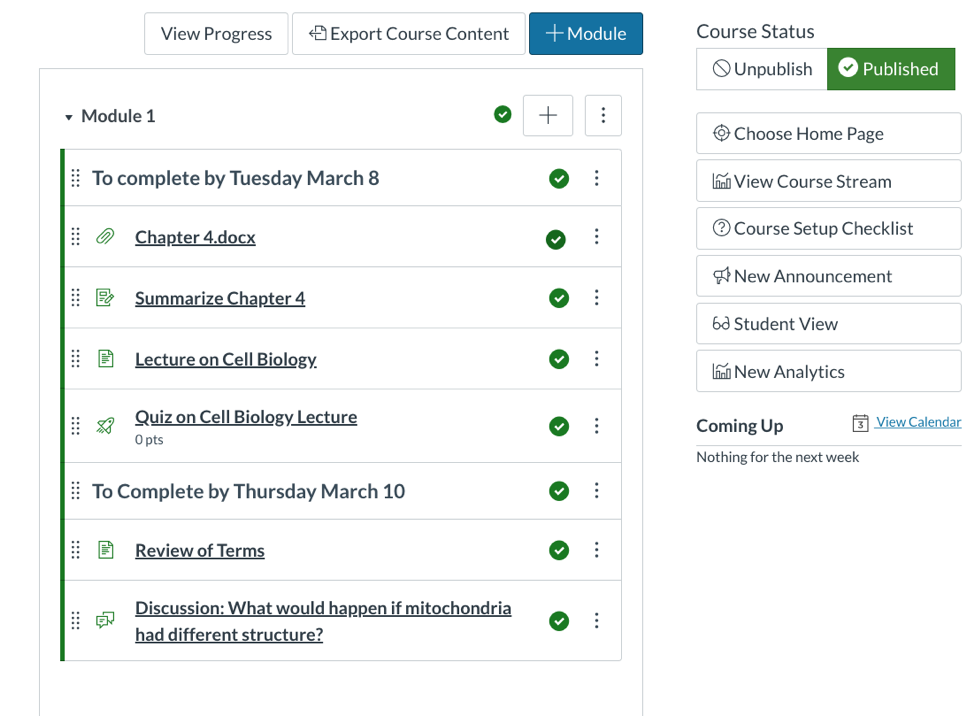
Remember to publish items and the module when you are ready for students to access the material.
The publish icon for modules and items is to the right side of each component. Items will be unpublished by default. Click or select the icon to publish items.

Once you have added items to Canvas, students cannot see them if you do not publish them. This is a step that's easy to forget, so it's important to double check that you've published everything you expect students to access.
The publish button for the whole course is located on the right side of your screen. Course status is set to unpublished by default: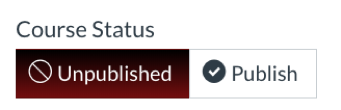
Click or select the course status button to publish the course. When the course is published it looks like this: